Rover
Set Up Rover
Start MCPLab, configure a browser agent, install Rover, and connect it.
1. Start MCPLab
Open a terminal in your evaluation workspace. You need Chrome or another Chromium browser, access to the browser agent you want to test, and evaluation scenarios. If you are starting from scratch, follow Setting Up Evaluations and Scenario Setup first.
Start the local MCPLab App from that workspace.
npx @inspectr/mcplab app --open2. Configure a Browser Agent
Add a browser agent to agents.yaml in your library directory. Each browser agent needs type: browser, a provider, and a url.
MCPLab includes browser support for Claude and ChatGPT. Use claude for Claude browser chats and chatgpt-com for ChatGPT browser chats. You do not need to create provider files for these built-in profiles.
Connect the MCP servers you want to test in the browser agent itself before running Rover.
When you learn another provider with Rover, MCPLab saves a workspace provider profile and links it to a browser agent. Rover saves that profile directly through the running MCPLab App. Restart MCPLab only after manually editing library files.
claude-browser:
  type: browser
  name: Claude browser
  provider: claude
  url: https://claude.ai

chatgpt-browser:
  type: browser
  name: ChatGPT browser
  provider: chatgpt-com
  url: https://chatgpt.com
Choose Conversation Context
After the basic browser-agent configuration works, choose how Rover starts each scenario. Add the setting below under the browser agent when you want independent conversations.
- Set it to true to start a fresh conversation for every scenario.
- Set it to false, or omit it, to continue the current conversation between scenarios.
- Override the setting when you start an evaluation if you need a different context for one run.
new_conversation_between_scenarios: true3. Install Rover
Download the latest Rover release from GitHub Releases, unzip it to a folder you want to keep, and install the unpacked extension with the steps below. The browser loads Rover from that folder.
- Open chrome://extensions in Chrome.
- Enable Developer mode.
- Choose Load unpacked.
- Select the unzipped release directory.
- Pin MCPLab Rover to the browser toolbar.
4. Connect Rover to MCPLab
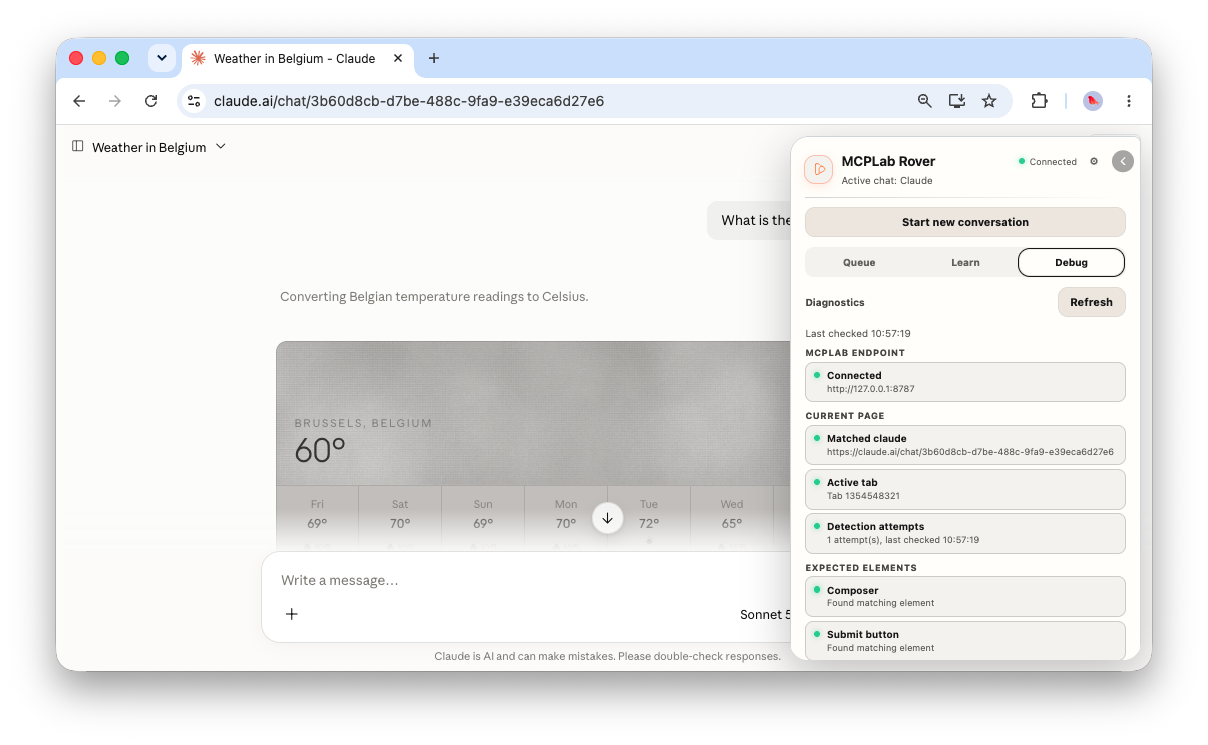
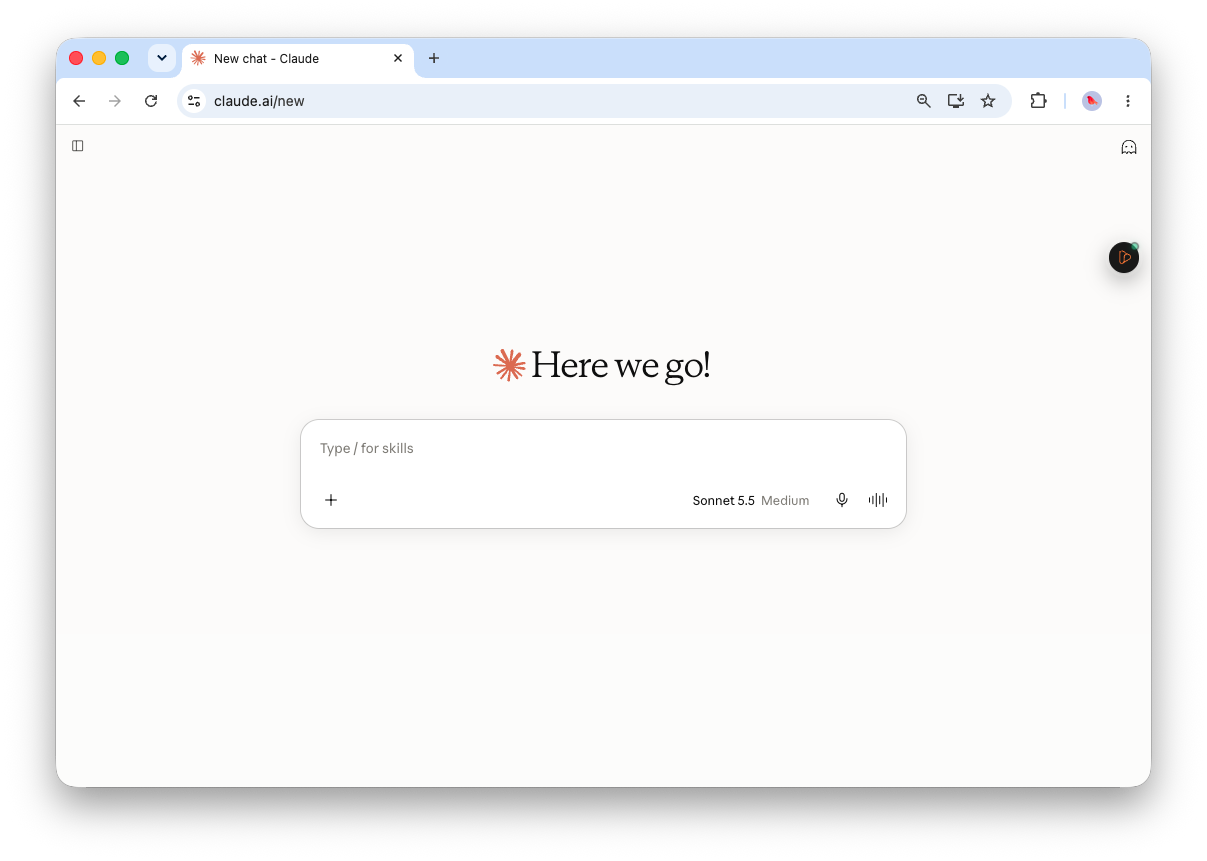
Open a supported browser chat and click Rover in the browser toolbar. Rover connects to MCPLab automatically, which typically runs at http://127.0.0.1:8787.
If your MCPLab App uses another loopback port, open Rover settings and update the MCPLab URL.
Troubleshooting Setup
- Connection refused: start MCPLab and verify the Rover origin is http://127.0.0.1:8787.
- Disconnected indicator: confirm the MCPLab App is running, then reopen Rover.
- Provider not supported: use Learn to create a profile for a compatible chat provider, or switch to Claude or ChatGPT.
- Provider not detected: navigate to the configured provider URL and refresh the page.
- Missing URL: add a valid url and restart MCPLab.
- Extension not responding: reload Rover from chrome://extensions and refresh the browser agent page.